Developer Workstation PC Build
Earlier this year, I decided to build a development desktop. It’s the first PC I’ve fully built in at least four years. While I was backpacking, I relied solely on my laptop for development work. Prior to that I had used desktops people were giving away, or systems I had build years ago and had just continually upgraded. Since this would be a Linux workstation aimed primarily at development, the hardware was focused on performance. It would be built with 32GB of DDR4 memory, a 6700K i7 processor and dual M.2 solid state NVME drives connected to the PCI-E bus in a software RAID0 (striped) configuration for performance.
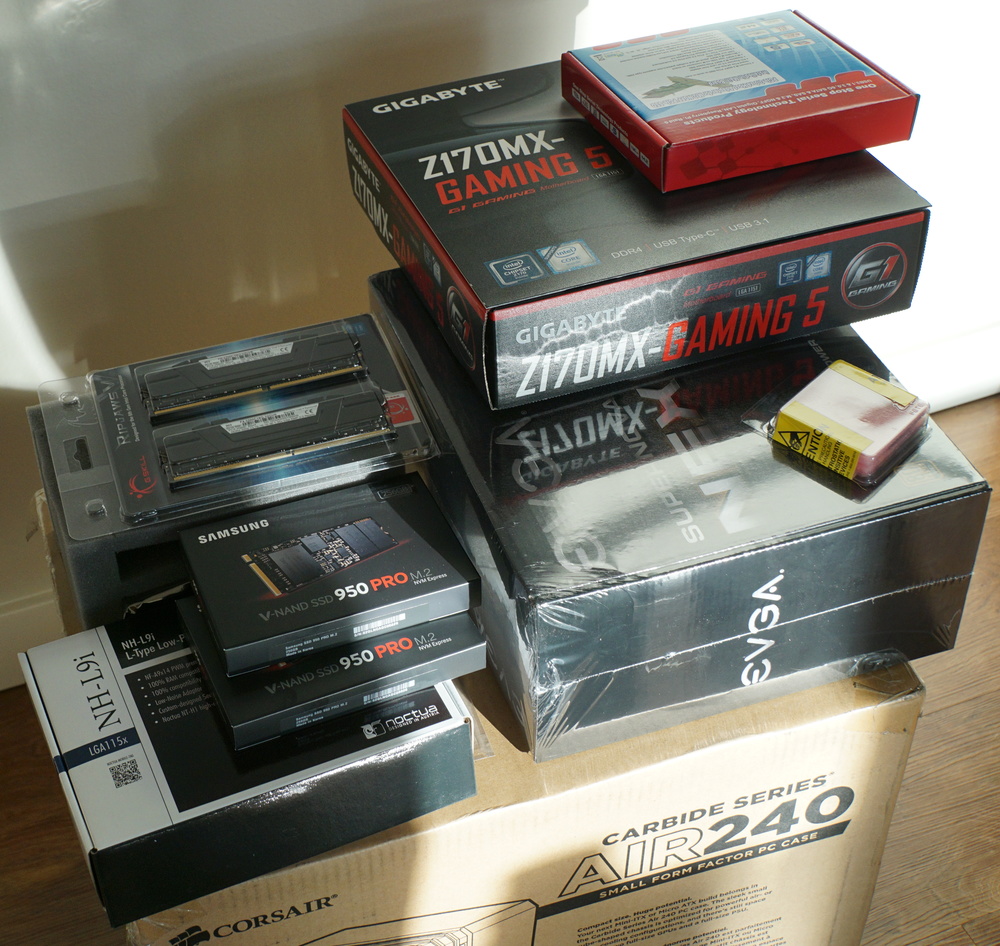
Parts List
I wanted a small form factor machine and had originally looked at using a Asus Z170I mini-itx board with a Silverstone RVZ02B case. However, all the current ITX boards only come with one M.2 hard drive slot. A second M.2 can be added via a PCI-E adapter (which I’ve done on this build), but at the sacrifice of the only PCI-E slot. Going with a Micro ATX board allows room for a video card and higher memory capacity.
| Type | Part | Cost |
|---|---|---|
| CPU | Intel Core i7-6700K 4.0GHz Quad-Core Processor | $349.99 |
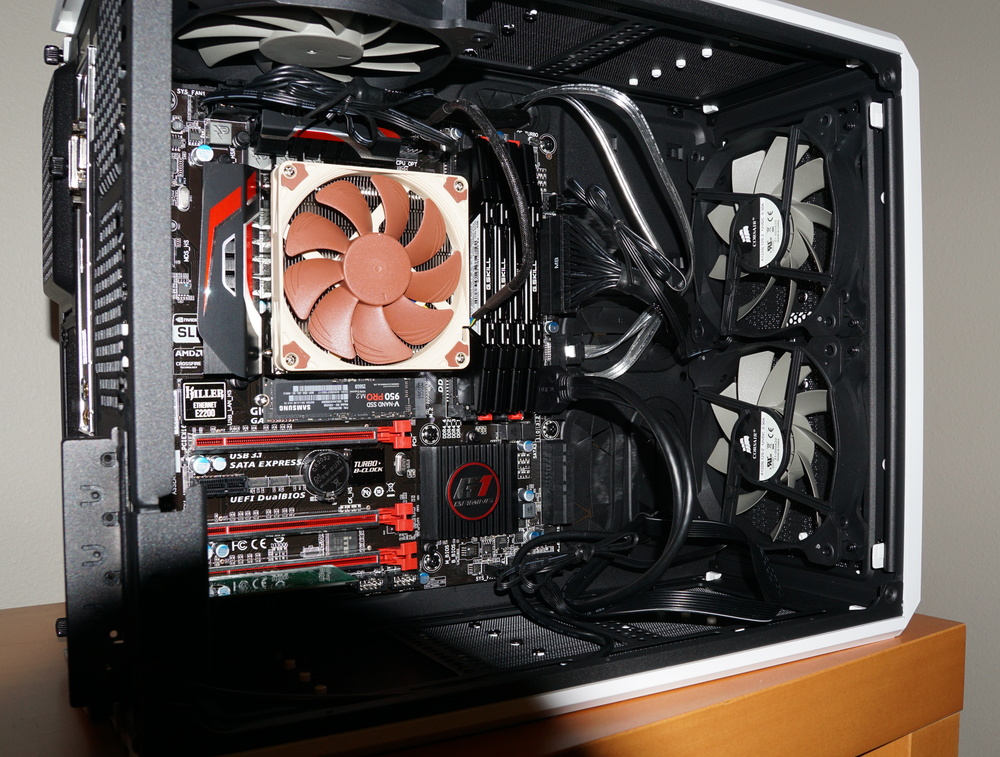
| CPU Cooler | Noctua NH-L9i 33.8 CFM CPU Cooler | $42.34 |
| Motherboard | Gigabyte GA-Z170MX-Gaming 5 Micro ATX LGA1151 Motherboard | $138.99 |
| Video | XFX Double D AMD Radeon HD 7850 2GB DDR5 (Used) | $ 110 |
| Memory | G.Skill Ripjaws V Series 32GB (2 x 16GB) DDR4-3200 Memory | $189.99 |
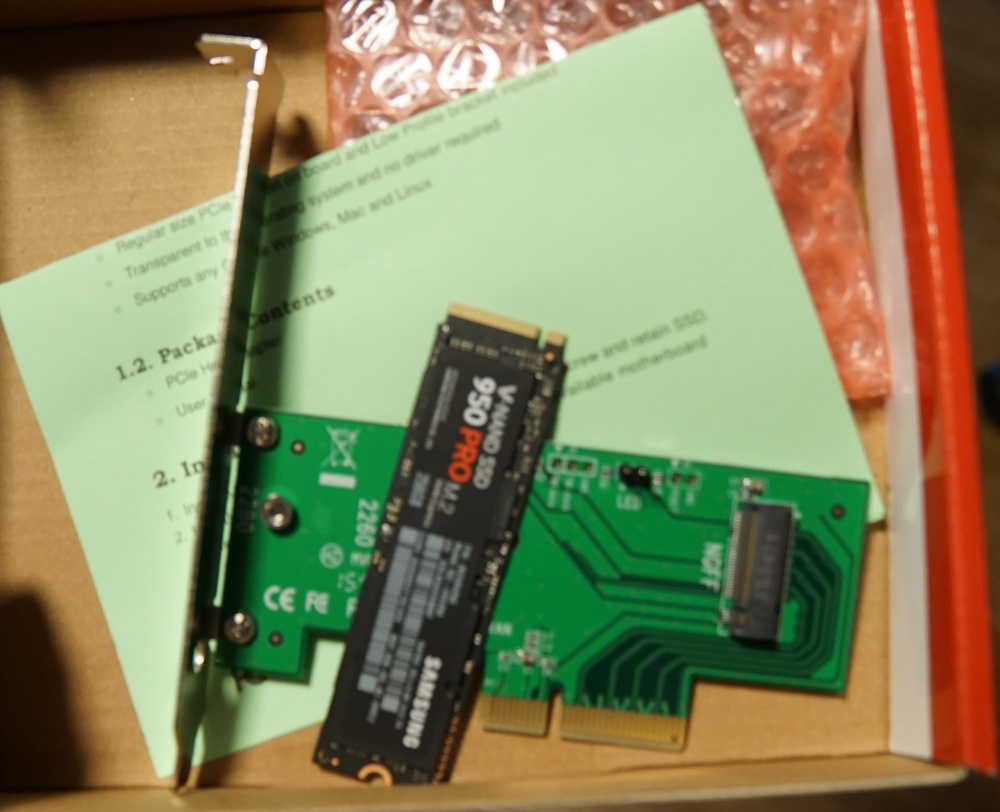
| Storage | Samsung 950 PRO 256GB M.2-2280 Solid State Drive | $181.95 |
| Storage | Samsung 950 PRO 256GB M.2-2280 Solid State Drive | $181.95 |
| Storage | Seagate Archive 8TB 3.5” 5900RPM Internal Hard Drive | $221.99 |
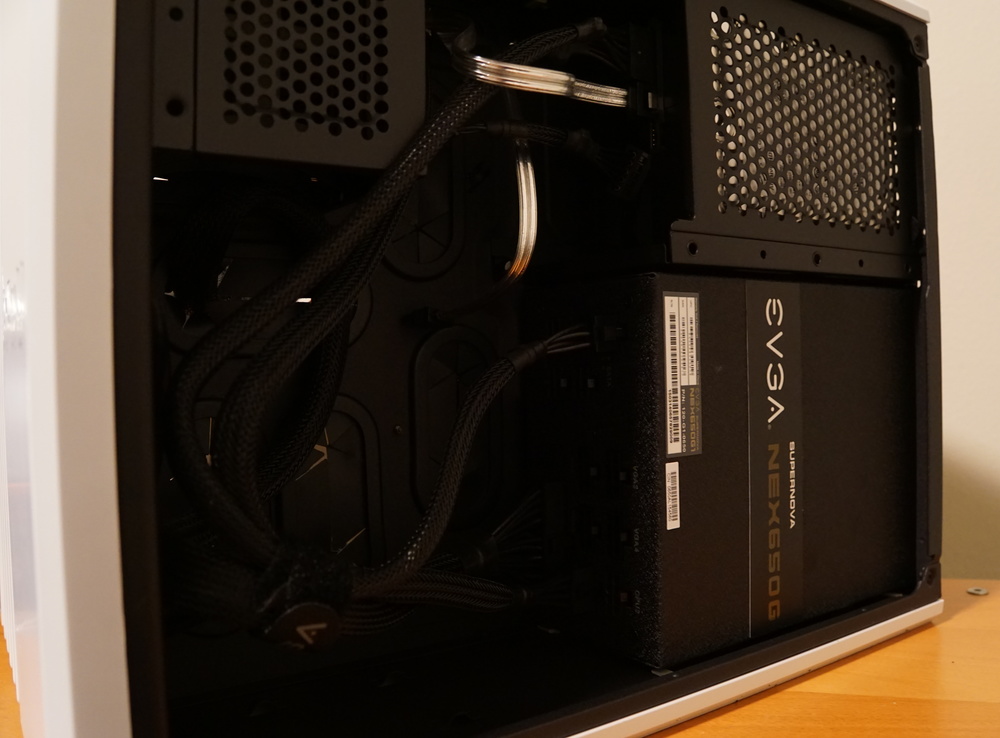
| Case | Corsair Air 240 MicroATX Mid Tower Case | $79.99 |
| Power Supply | EVGA SuperNOVA NEX 650W 80+ Gold Certified Fully-Modular ATX Power Supply | $78.10 |
| Adapter | Lycom DT-120 M.2 PCIe to PCIe 3.0 x4 Adapter (Support M.2 PCIe 2280, 2260, 2242) | $24.90 |
| Misc | Taxes and Shipping | $39.51 |
| Total | $1639.71 |
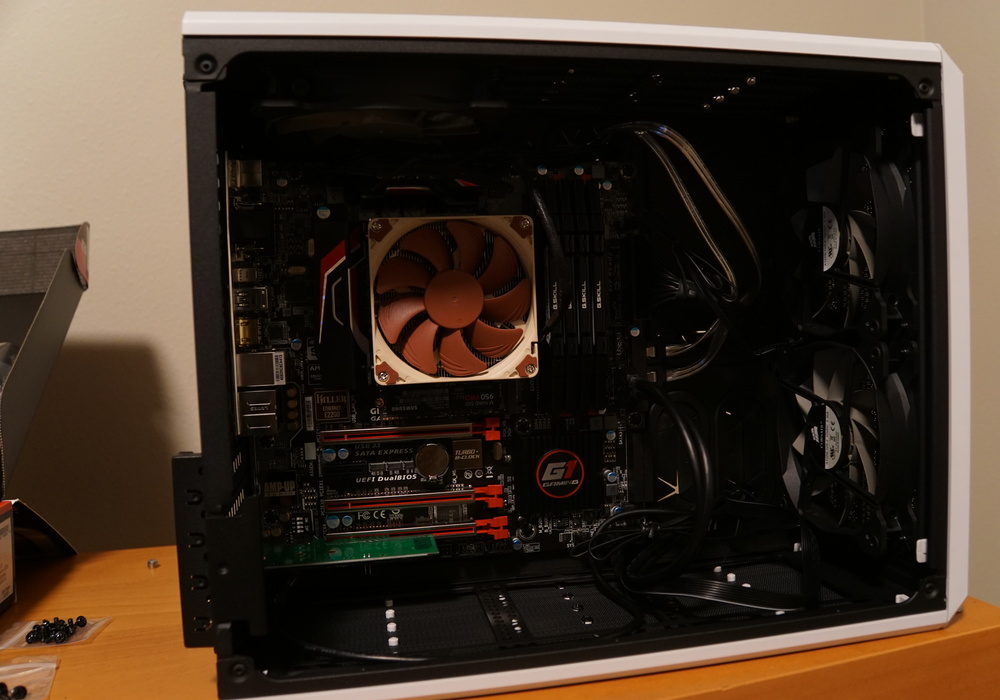
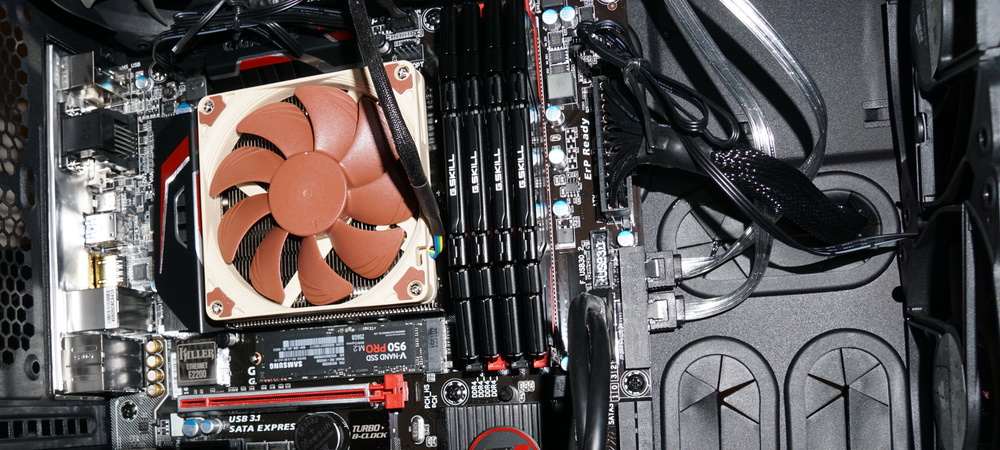
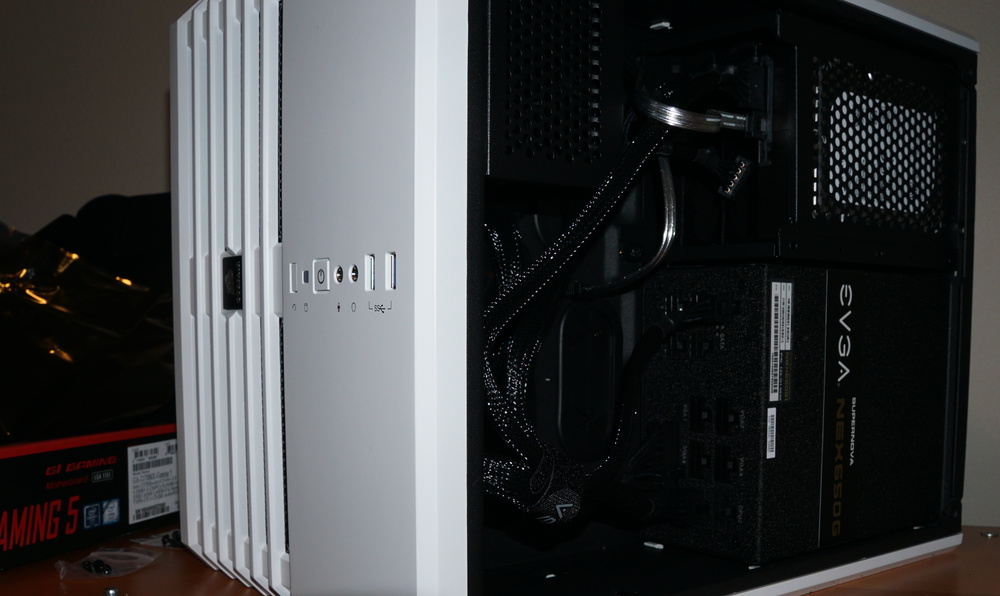
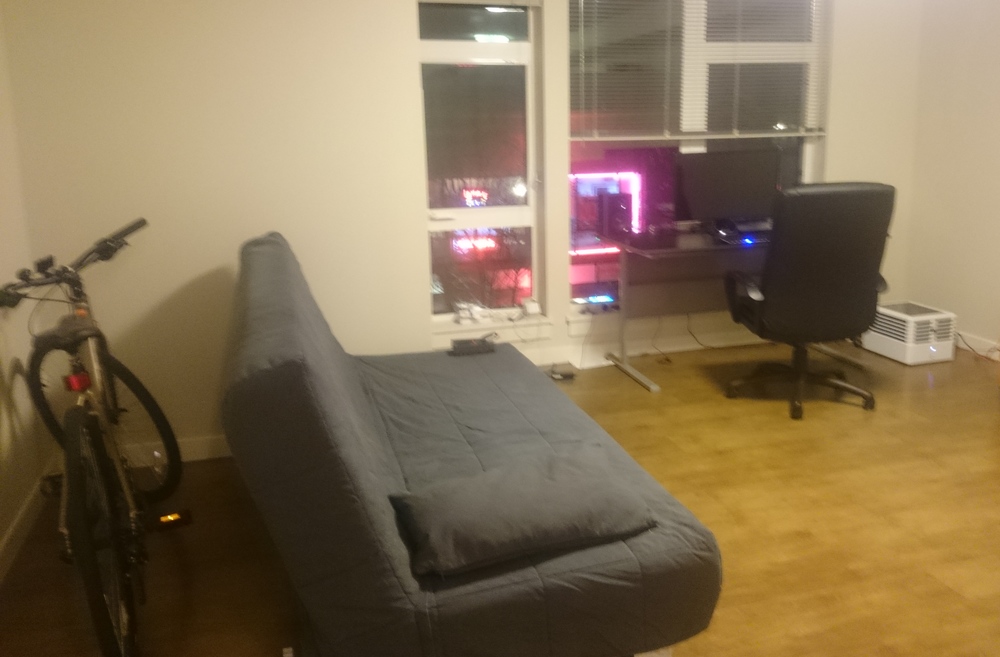
Photos

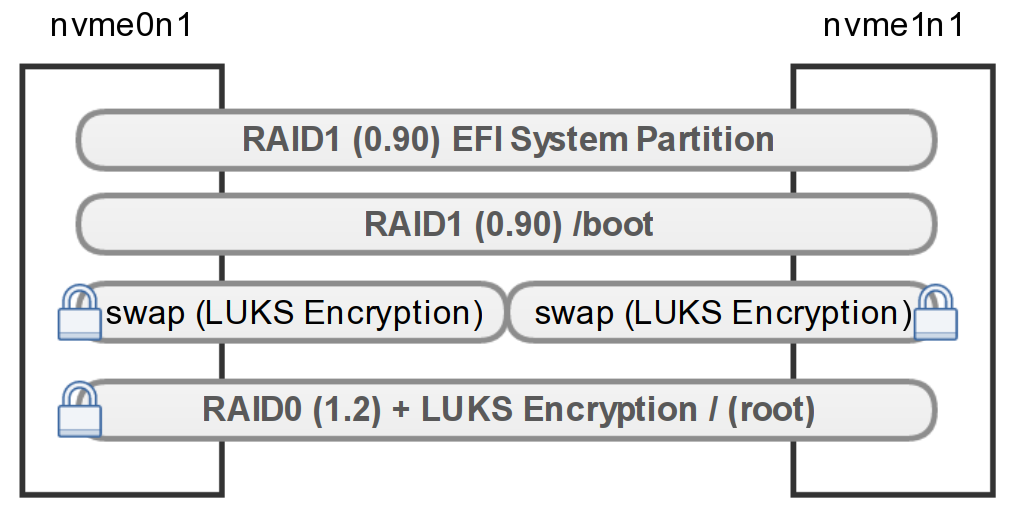
Partition Scheme
NVME devices show up in Linux as the device nodes /dev/nvme<number>n1. The n1 is the actual block device, and is tacked onto the end to support NVME namespacing1. For this build, I configured nvme0n1 and nvme1n1 with an identical partition schema.
Device            Start       End   Sectors   Size Type
/dev/nvme1n1p1     2048    196607    194560    95M EFI System
/dev/nvme1n1p2   196608    391167    194560    95M Linux RAID
/dev/nvme1n1p3   391168  31641599  31250432  14.9G Linux swap
/dev/nvme1n1p4 31641600 500118158 468476559 223.4G Linux RAID
The purpose of each partition for nvme{0,1}n1 is as follows:
| Partition | Purpose |
|---|---|
| p1 | RAID1 (0.90) + EFI System Partition (ESP) |
| p2 | RAID1 (0.90) + Linux Boot (Unencrypted) |
| p3 | LUKS + Swap (Encrypted) |
| p4 | RAID0 (1.2) + LUKS + Linux Root (Encrypted) |
The ESP and boot partitions are setup as mirrored RAID. The older 0.90 metadata version must be used on the ESP partition so the UEFI boot process can identify it as a FAT32 partition. The 1.2 version of the metadata, used on the primary striped (RAID0) partition, adds addition headers making the underlying filesystem inaccessible to UEFI and anything else that’s not designed to read Linux software RAID partitions. Grub does have an mdraid1x.module that should have allowed the boot partition to use the RAID 1.2 schema as well, however I had trouble getting Grub to recognize the boot partition.
In Gentoo, encrypted swap partitions can be automatically created on boot by adding the following entries to /etc/conf.d/dmcrypt as shown:
swap=crypt-swap1
source=/dev/nvme0n1p3
options='-c aes-xts-plain64 -h sha512 -d /dev/urandom -s 512'

swap=crypt-swap2
source=/dev/nvme1n1p3
options='-c aes-xts-plain64 -h sha512 -d /dev/urandom -s 512'
Swap doesn’t need to be on its own RAID device, since the Linux kernel will stripe their usage automatically if they’re given the same priority as seen below2. They can then be added to the /etc/fstab using their device mapper names:
/dev/mapper/crypt-swap1  none swap  auto,sw,pri=1  0 0
/dev/mapper/crypt-swap2  none swap  auto,sw,pri=1  0 0
RAID information from /proc/mdstat:
md2 : active raid0 nvme1n1p4[0] nvme0n1p4[1]
      468213760 blocks super 1.2 512k chunks

md1 : active raid1 nvme0n1p2[0] nvme1n1p2[1]
      97216 blocks [2/2] [UU]

md0 : active raid1 nvme0n1p1[0] nvme1n1p1[1]
      97216 blocks [2/2] [UU]
The full partition layout is illustrated by the following diagram:
Closing Remarks
My configuration has been optimized for performance at the expense of redundancy (i.e. the use of RAID0 striping). I used an existing external laptop and high capacity drive to use as backups, which are essential for running with this type of configuration.
Every data storage partition in my configuration is encrypted except for the Linux boot partition. This provides a high degree of data security in the case of hardware being stolen. However the hardware must still be physically secure, as tampering with either the ESP or boot partitions could allow an attacker to inject a custom bootloader to capture passwords.
After using this machine for nearly a year, I can say it’s been a stellar development system. With 32GB of ram and the NVME SSD drives running in RAID0, I can run several VMs and compile large project with ease. It has a decent enough video card for playing many of the independent titles that have come to Linux, although I’ve put Windows back on my laptop to be my primary gaming device.
Although the entire setup was a fun build, in many ways I felt that it was overkill. My previous laptop was more than capable as a development platform. For a fraction of the cost, I could have also retrofitted an older used Xeon workstation with comparable memory and a solid state drive. Comparing benchmarks or running an older machine side-by-side, the difference would be measurable. In fact, the differences in tasks such as compiling, transcoding video, running complex queries and starting virtual machines, are all noticeably faster than my previous machines. However, many everyday tasks are not CPU or memory limited, but instead network limited, to which a faster workstation doesn’t have a significant impact.
Cost aside, I really enjoyed building a machine again. Being my first full build in several years, I had to research the current state of processors, chipsets and what made the most economical sense. I’m satisfied that for the price I paid, I’ve gotten a very reliable system that has served me very well for several months and will continue to be a good development workstation for some time to come.
-
Finding your new Intel SSD for PCIe (think NVMe, not SCSI) . 10 October 2014. Ober. IT Peer Network (Intel). ↩
-
Setting up a (new) system - Linux RAID Wiki. Retrieved 18 Dec 2016. Linux RAID Wiki. ↩