Rack Mount Cluster of Raspberry Pis
A few months ago, when looking for fun 3D printing projects, I discovered the Raspberry Pi Server Mark III. The prices for Raspberry Pis has skyrocketed, despite the fact that nearly half a million units are produced every month1. Luckily, I had several Pis lying around from my previous research into environmental sensor networks. I decided to print the 18 slot version of the Mark III rack, so I’d have plenty of room to expand. As I was printing all the parts, I dug through my hardware and found 5 Raspberry Pis from various generations. This seemed like the perfect opportunity to add Pis to my home lab and experiment with cluster management and distributed tasks.
The Build
The designs for this rack mount kit has each Raspberry Pi on an individual sled, with the sled holders individually printed as well. The holders snap together with printed pegs, and tension is maintained with long threaded bars. The printed sleds were a very tight fit. I could have edited the STL files, and learned how to use open source CAD programs to adjust them. However, I took the easier route of just tapping the sleds into the trays with a hammer. Tapping them in and out a few times expanded the trays and loosened the sleds to make them all fit easily.
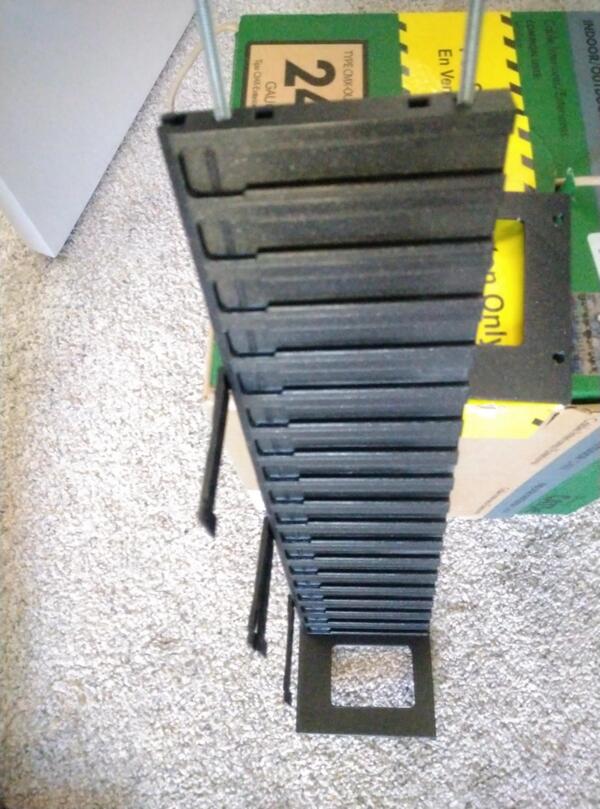
I cut the excess threaded bars with a hacksaw. Even with the nuts as tight as I could get them on the threaded rods, the rack still sags slightly.
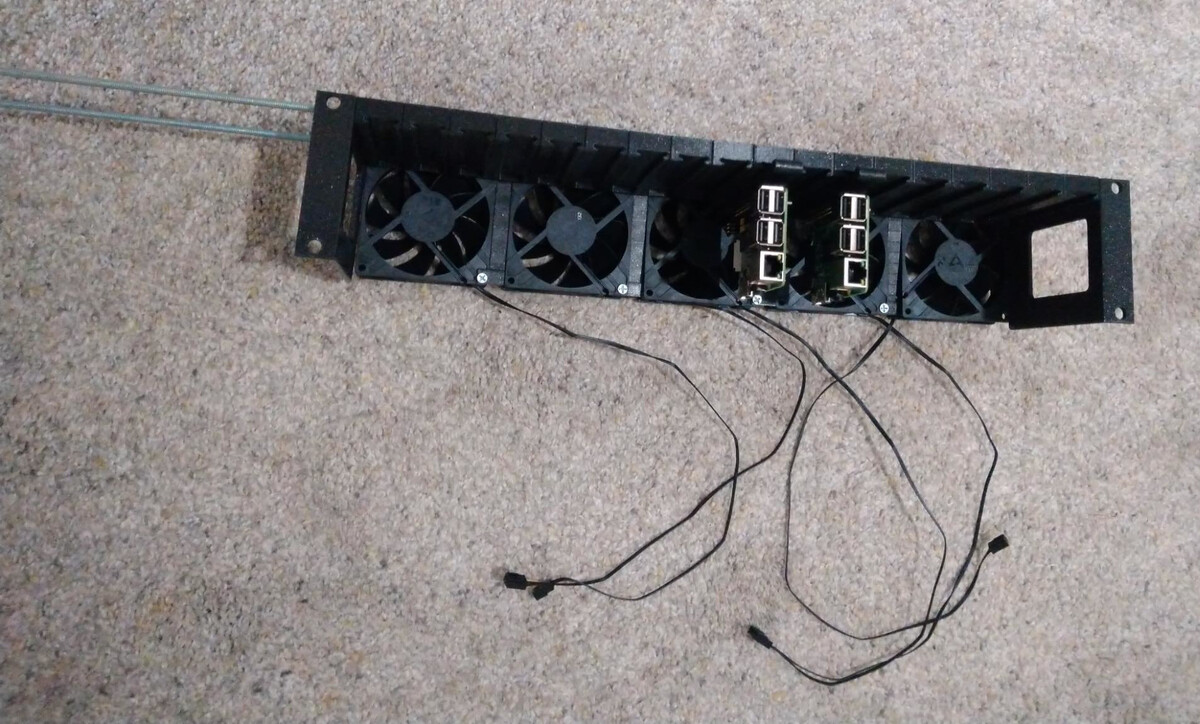
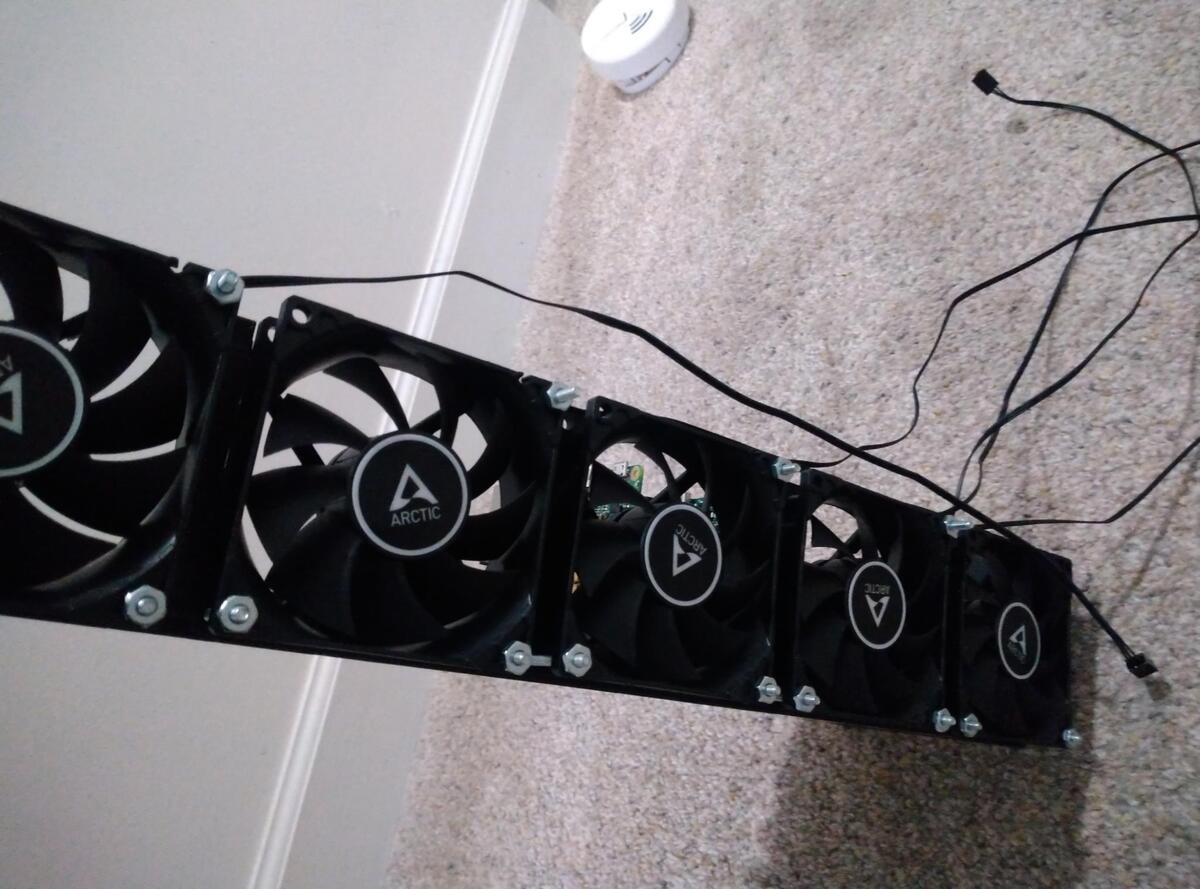
I ended up using this simple fan controller, attaching it to the side of the rack.

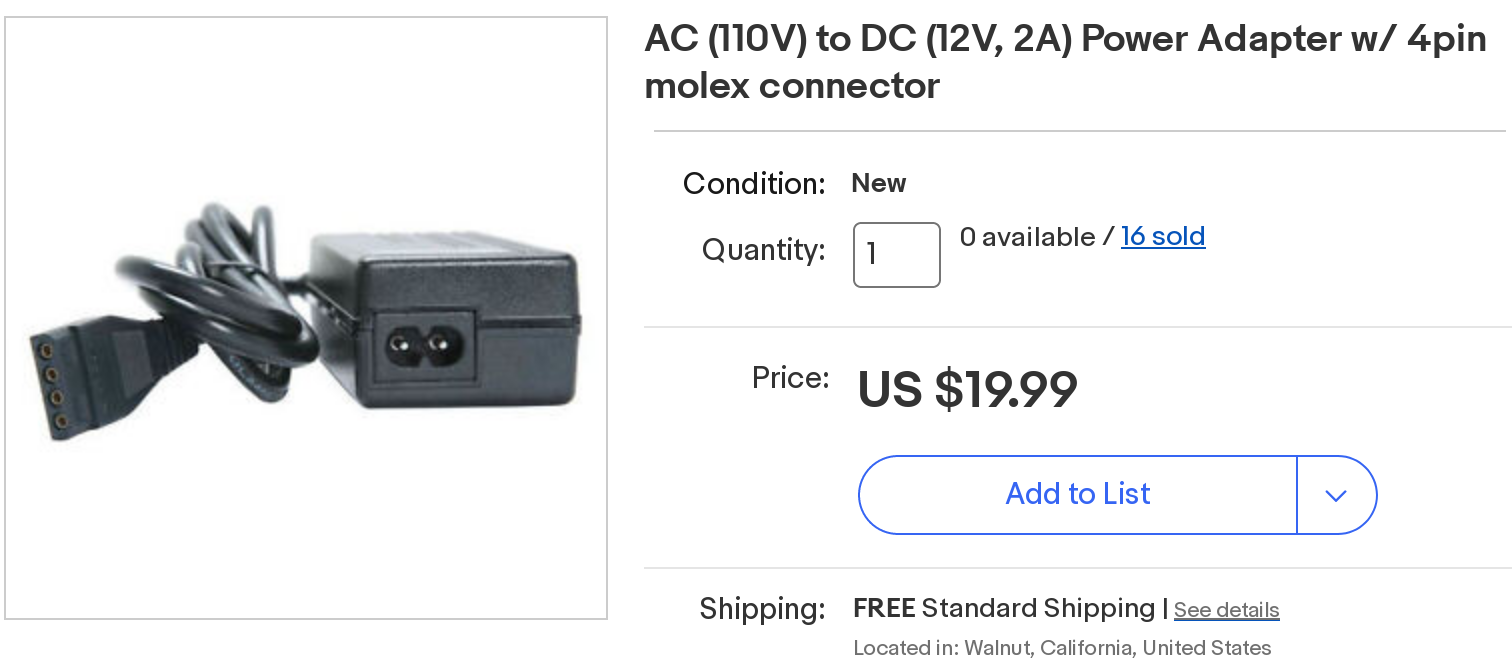
I powered the fan controller using this AC to molex connector.
Networking
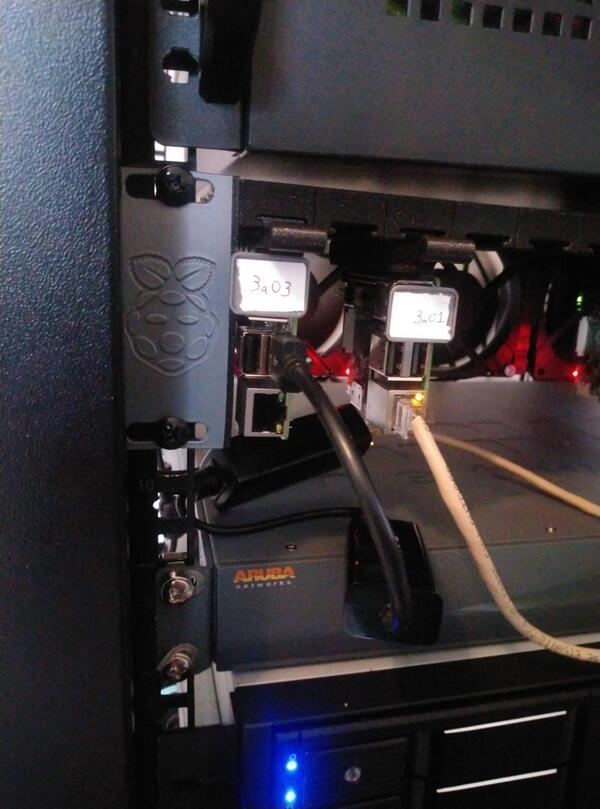
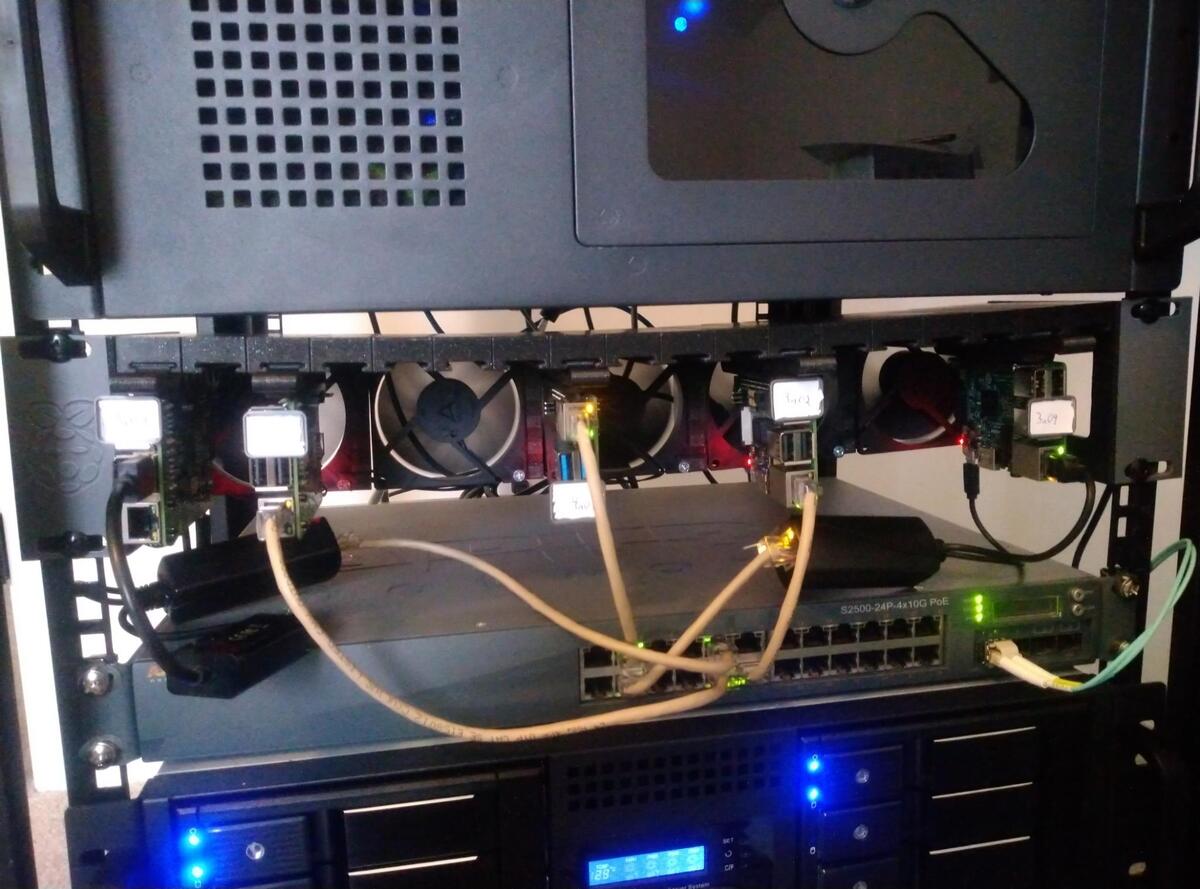
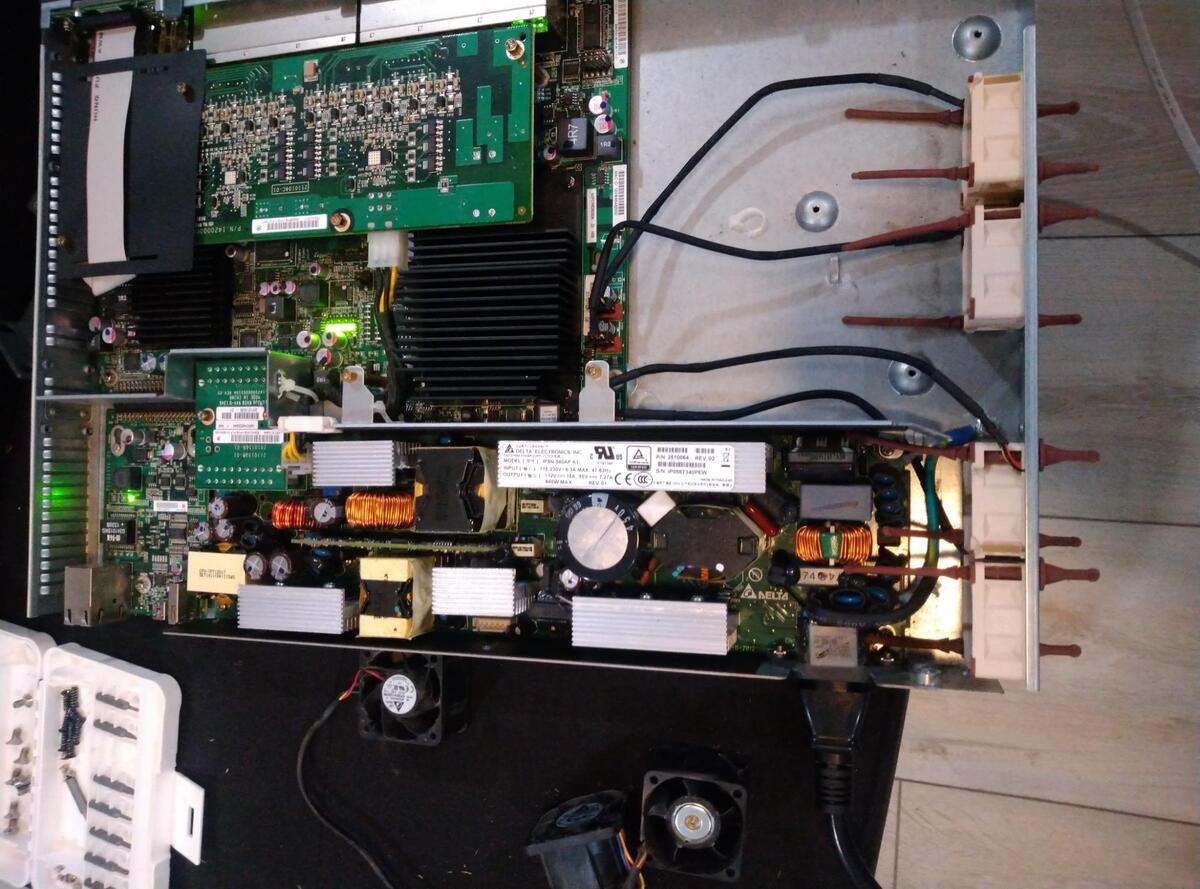
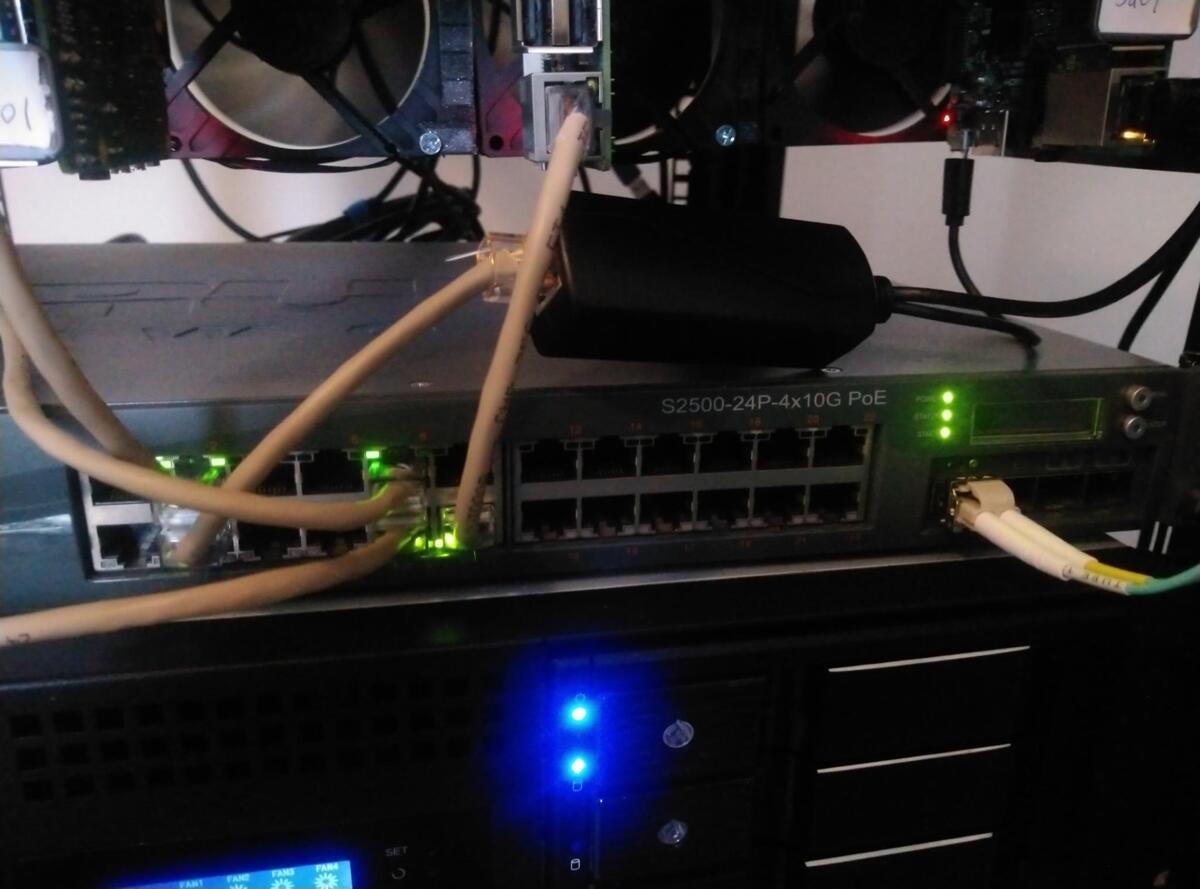
The Pis in this cluster are connected via Power over Ethernet (PoE), using an Aruba switch I purchased off of eBay. I modified the switch using Noctua fans, to reduce overall noise in my home lab. I found a video showing a fan modification2. I took mostly the same approach, except instead of drilling out the fan holes, I used the rubber attachment grips Noctua provides. The grips also reduce vibration and noise. The switch is connected to the rest of my network using a 10G fiber connections.
Some of my Pis support standard PoE hats, while others are too old and require PoE-to-USB splitters. One of the Pis in my cluster no longer has a functional Ethernet port either, so I had to add a USB Ethernet adapter to it. I was concerned this would hinder network speeds for the device, but it turns out the Pi3 B/1.2 revision was already limited to 100Mb networking. Even the 1.3 revision are limited by their attachment to the USB bus3. Using iperf3, I observed the following average network speeds between each individual Pi and one of my other servers.
| Node | Pi Model | Link Speed | iperf3 avg sender speed |
|---|---|---|---|
| arpi3a01 | 3 Model B Plus 1.3 | 1000 | 186 Mbits/sec |
| arpi3a02 | 3 Model B Plus 1.3 | 1000 | 190 Mbits/sec |
| arpi3a03 | 3 Model B 1.2 | 100 | 93.2 Mbits/sec |
| arpi3a04 | 3 Model B 1.2 | 100 | 93.2 Mbits/sec |
| arpi4a01 | 4 Model B Rev 1.1 | 1000 | 599 Mbits/sec |
In the above example, 3a03 is the node with a USB Ethernet adapter to replace the broken onboard Ethernet. As you can see, it still preforms identical to the onboard adapter on 3a04, which is the same Pi revision.
Configuration
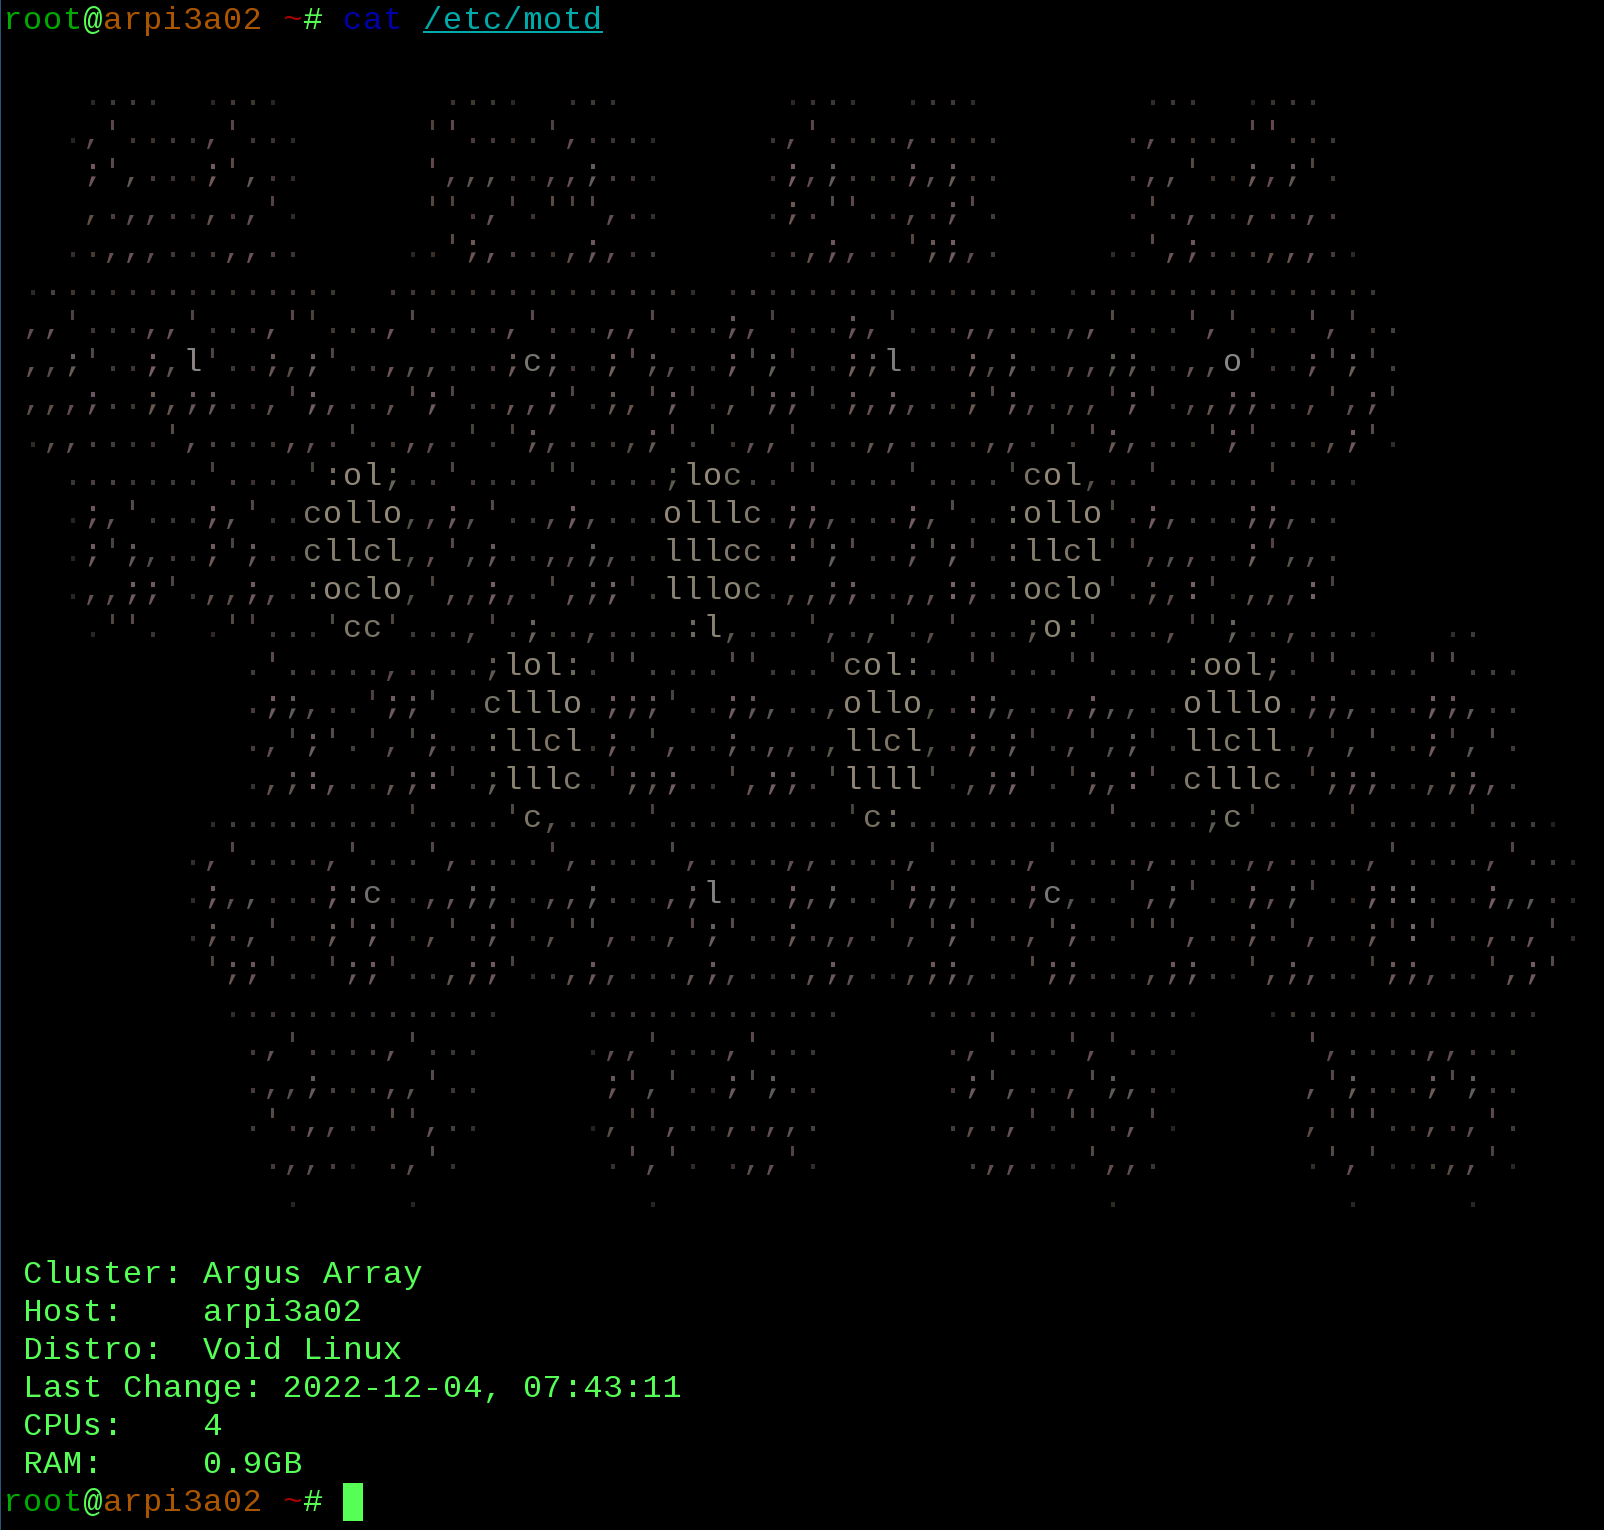
Void Linux provides images specifically for Raspberry Pis4. I used dnsmasq on my router to assign each device a DNS name based on its MAC address. I used Ansible to provision each Pi with a standard suite of software, set passwords, and install SSH keys, similar to how I’ve setup my hosted servers. I’ve named this the “PiArgus Cluster,” and used Ansible to configure the /etc/motd to display an ANSI art version of the fictional Argus Array telescope from Star Trek.
ClusterSSH is a tool I’ve used in previous system administration roles, and this classic Perl application still works great for my Pi Cluster.

Notes on Expanding the Partition on Void Linux
Most Linux images for embedded devices are flashed to eMMC or SD Cards. Those images then need to have their partitions expended to utilize all the available space on that particular medium. Some images do this automatically on first boot. For Void Linux, this must be done manually. There are several ways to do this. You can use fdisk to delete and recreate the root partition with the same starting block and a new ending block, and then use resize2fs to expand the filesystem to use all the available space (if using an ext4 partition. Other filesystems have their own resizing tools). You can also use GNU parted to expand the partition, and then resize. I created an Ansible task that executed the GNU parted commands:
- name: Extend root partition to use all space
  community.general.parted:
    device: "/dev/{{ sdcard_block_device }}"
    number: "{{ sdcard_root_partition_num }}"
    part_end: "100%"
    resize: true
    state: present

- name: Resize root filesystem
  community.general.filesystem:
    dev: "/dev/{{ sdcard_block_device }}p{{ sdcard_root_partition_num }}"
    fstype: ext4
    resizefs: true
However, whenever I attempted to resize the partition on the SD Card from the Raspberry Pi, it would always result in a filesystem error after reboot.
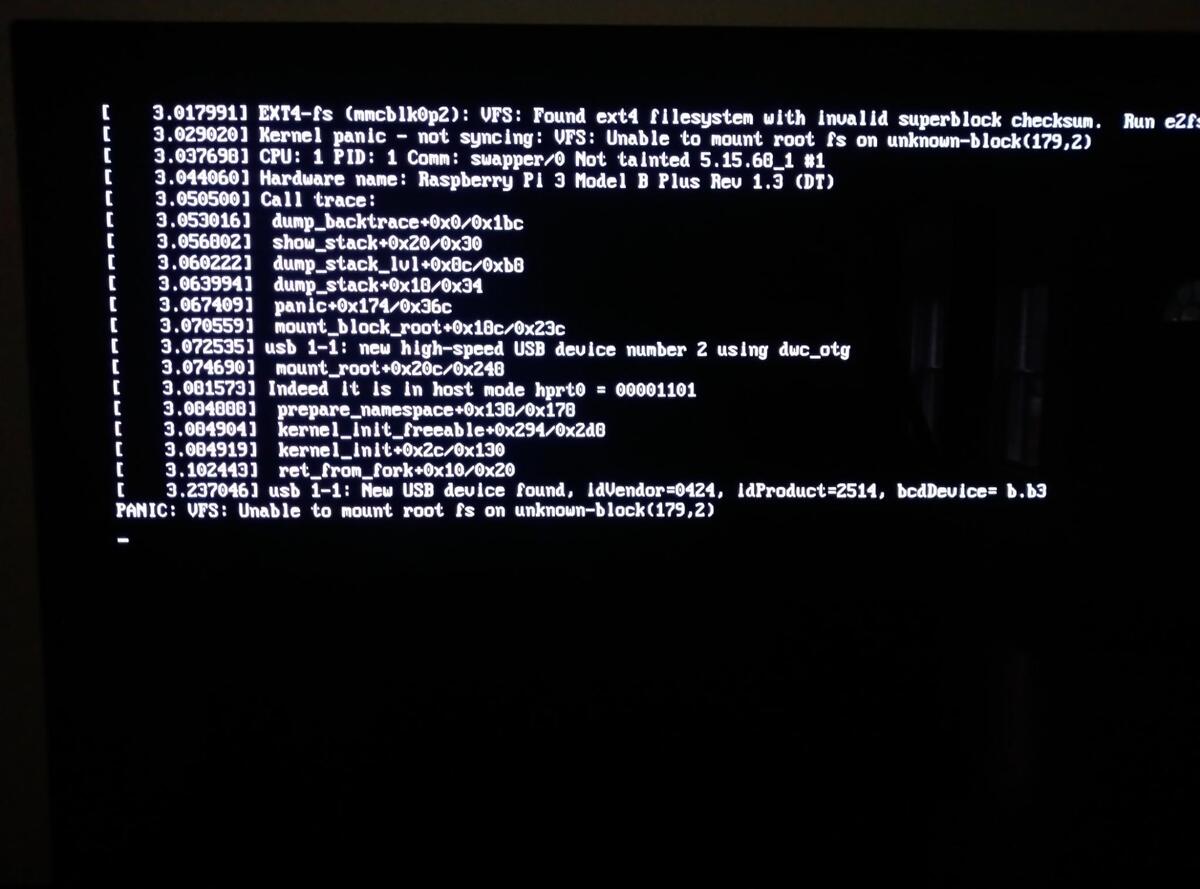
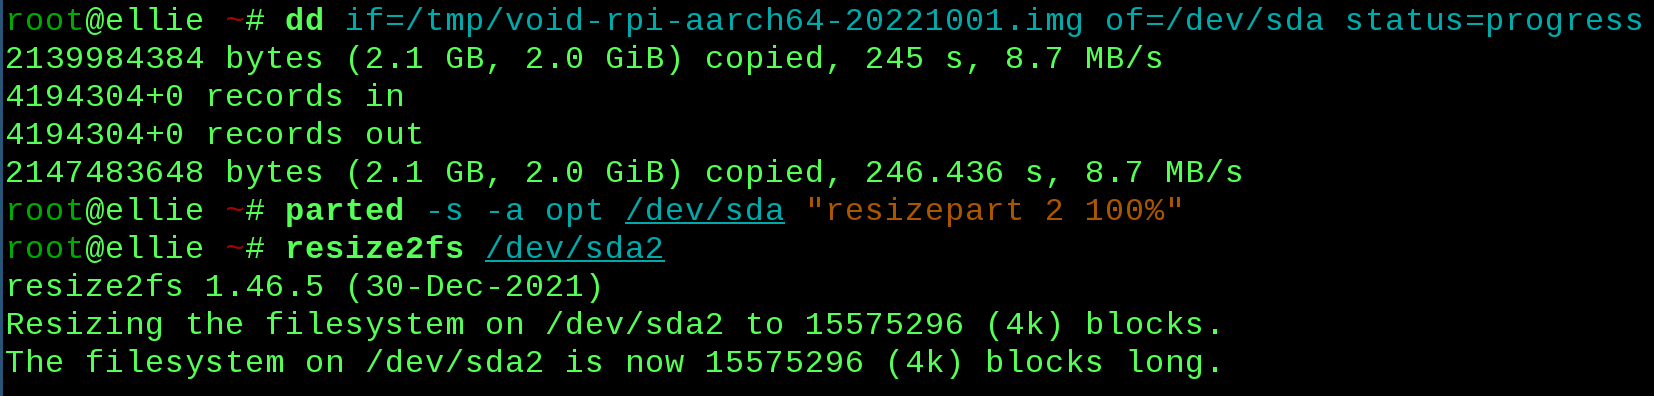
Running fsck on the ext4 partition from another device results in a superblock error. I’m not sure what’s going on here, as I’ve used this method for resizing active partitions in the past, on several different systems, without any issues. However, as a workaround, I found I could simply expand the partition on the SD Card after I finished flashing it using the following commands:
dd if=/tmp/void-rpi-aarch64-20221001.img of=/dev/sda status=progress
parted -s -a opt /dev/sda "resizepart 2 100%"
resize2fs /dev/sda2
Deployment
I initially went down the route of using Ansible to provision Nomad on Void Linux, which made me quickly remember how frustrated I get with Docker orchestration systems. Eventually I just deployed my applications by creating a base environment via Ansible and using sftp to deploy updates. It’s a simply deployment strategy that helped me get my side projects off the ground. I hope to go back and either finish my initial Nomad work, or find a better solution for orchestrating my applications in this very small and low powered cluster.
Conclusions
This was a fun project. I wish I had spent more time coding beforehand, as it’s easier to 3D print components and put physical hardware together, than write software to run on it. It took me a while to write and deploy some fun projects for this tiny cluster. Right now I’m using it for a data-mining project, written in Python, using Celery processes, and that I hope to cover in a future post. I’m not sure if I’d recommend this specific 3D print for a Pi cluster. As you can see from the photos, the trays are sagging a bit, the 3D prints took a lot of sanding to get everything to slide together correctly, and I doubt I’ll ever be able to fill this rack to its capacity with Raspberry Pis. Still, I have learned a lot from it, and there’s still a lot more work to do with this cluster with deployments and software, that I hope to cover in the future.
-
Production and supply-chain update. 4 April 2022. Upton. Raspberry Pi. ↩
-
Fan Mod for HPE Aruba S2500 Switch – DEAD SILENT MOD. 15 January 2019. Vicious Computers. ↩
-
Getting Gigabit Networking on a Raspberry Pi 2, 3 and B+. 16 February 2015. Geerling. ↩
-
Supported Platforms. Void Linux Handbook. Retrieved 31 January 2023. ↩