80 TB of RAIDZ Storage
Over the course of my life, hard drives have continued to get denser as far as their data capacity. Back when I was traveling for years, I could comfortably put most of my data on a single hard drive. Over the years, when I reached capacity, I’d copy everything to a new drive and ship the old one as an offsite backup to a family member halfway across the world. In recent years, I’ve switched from smaller custom NAS servers to a custom rack-mounted solution with ZFS storage. I was able to upgrade to a ZRAID array before storage prices started skyrocketing. This post talks about the new 80TB ZFS RAID array I built, as well as how I’ve converted my old hard drives to backups using ZFS snapshots.
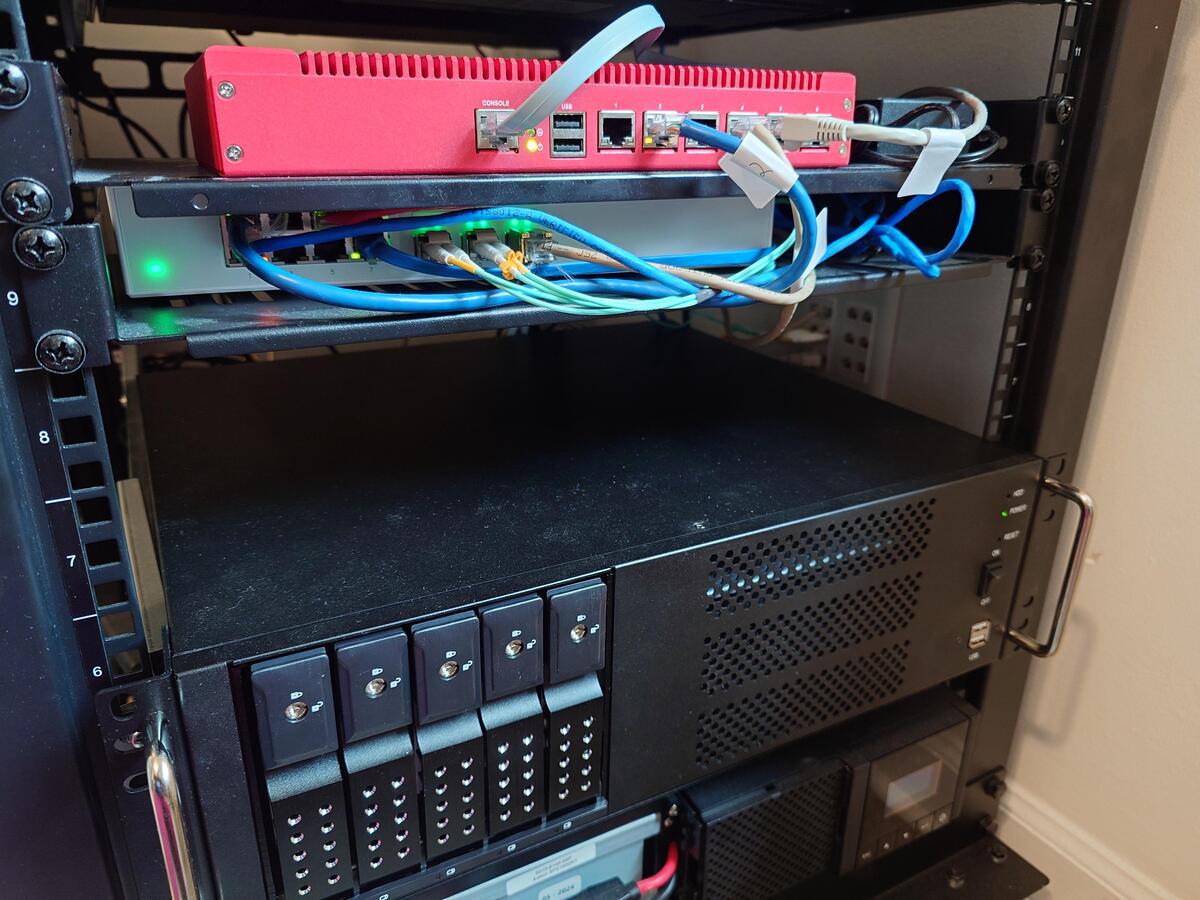
The Homelab
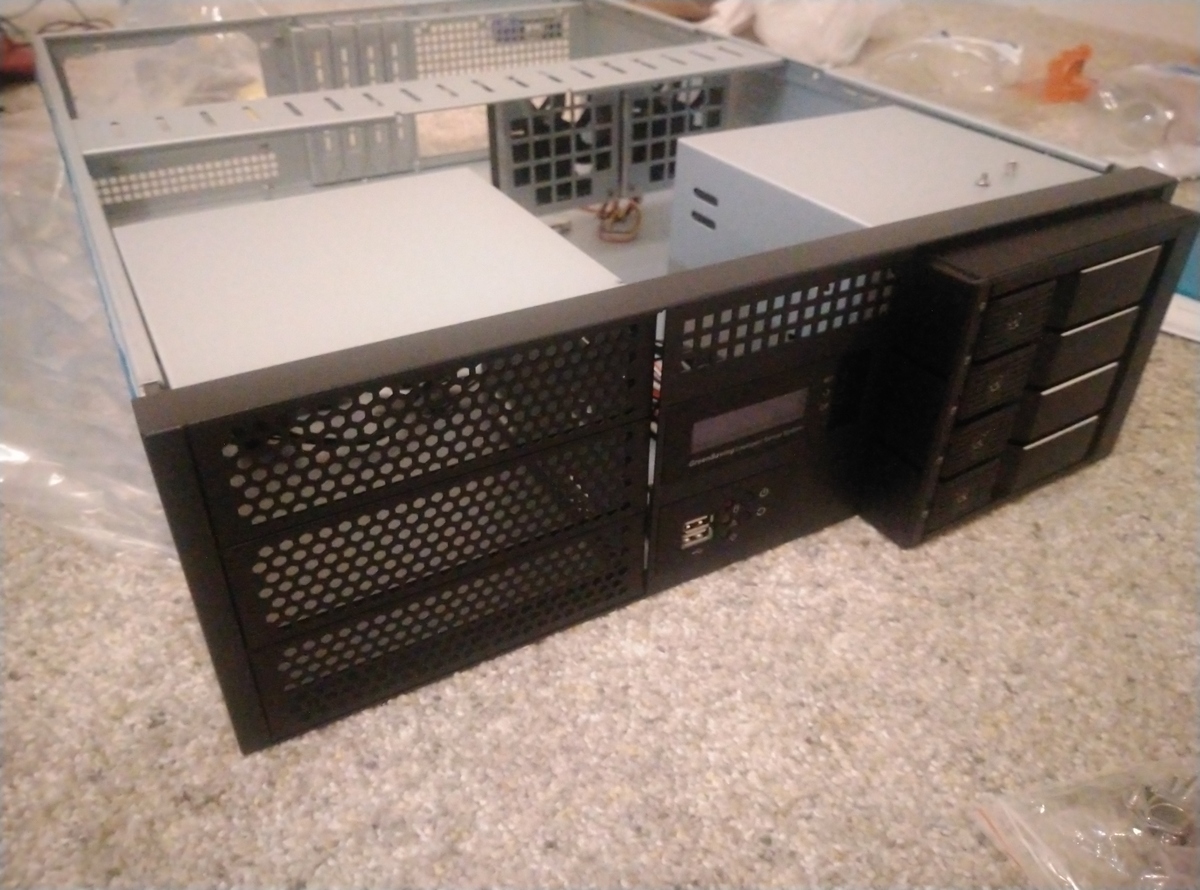
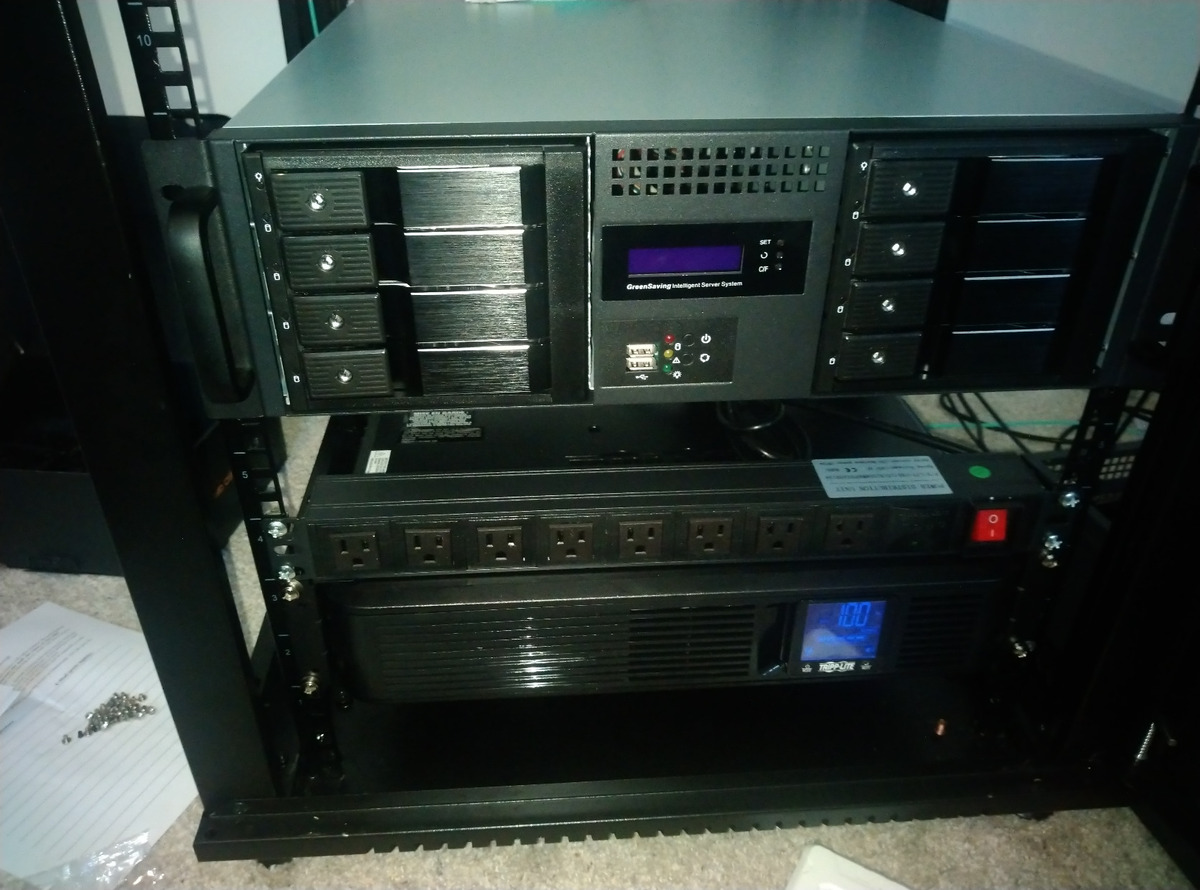
In 2022, I purchased a Sysracks rackmount in order to build out a small homelab. It’s an entry-level “gamer rack1,” which would struggle to properly fit a lot of enterprise rails and hardware. It’s good that I’ve mostly used commodity hardware and reused consumer parts. The NAS I built used a Plink case2, containing the ITX motherboard and parts from my older NAS. I then added two sets of 3 X 5.25 hot-swap tray-less hard drive enclosures.
The Old Rotation
Even with this new server chassis and its large number of drive bays, I didn’t move to a full RAID array. Instead I kept volumes for three general classifications of data: main, storage and archive. I’d rotate backup drives into the server every few weeks and transfer incremental ZFS snapshots to them. I kept a complicated spreadsheet of which drive contained which volume.

The backup volumes would go into a fire-resistant box. This is one of the off-the-shelf boxes that can be found at most hardware stores. I don’t know how fire resistant they truly are and hope I never find out.
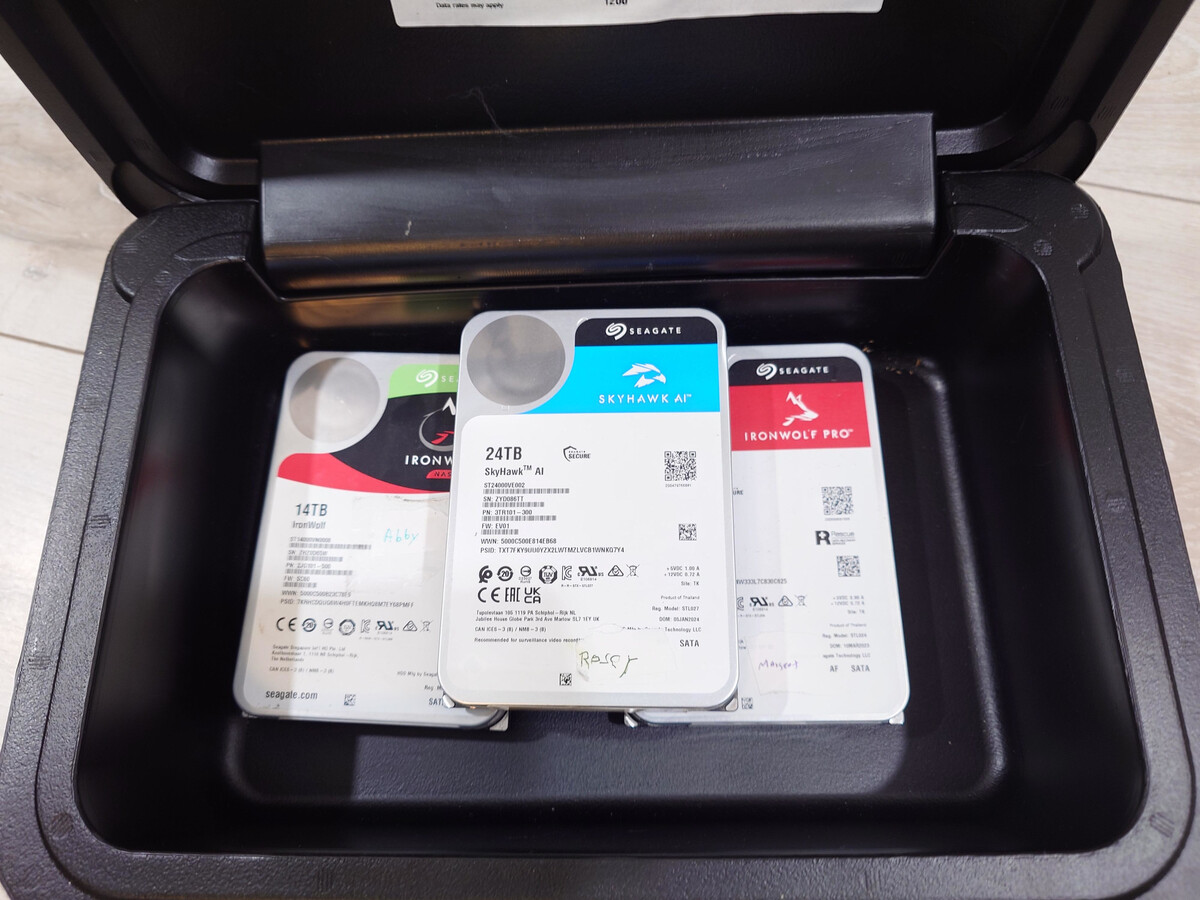
This is a terrible way to handle backups. In the case of a data failure, I could be weeks or months behind, depending on how well I’ve kept up my schedule. However, now that I have this new array, I also have several old drives that I could turn into backups. I could keep two sets of backup drives. One could be kept online and automated, while the other could be traded out occasionally into the same fire resistant box.
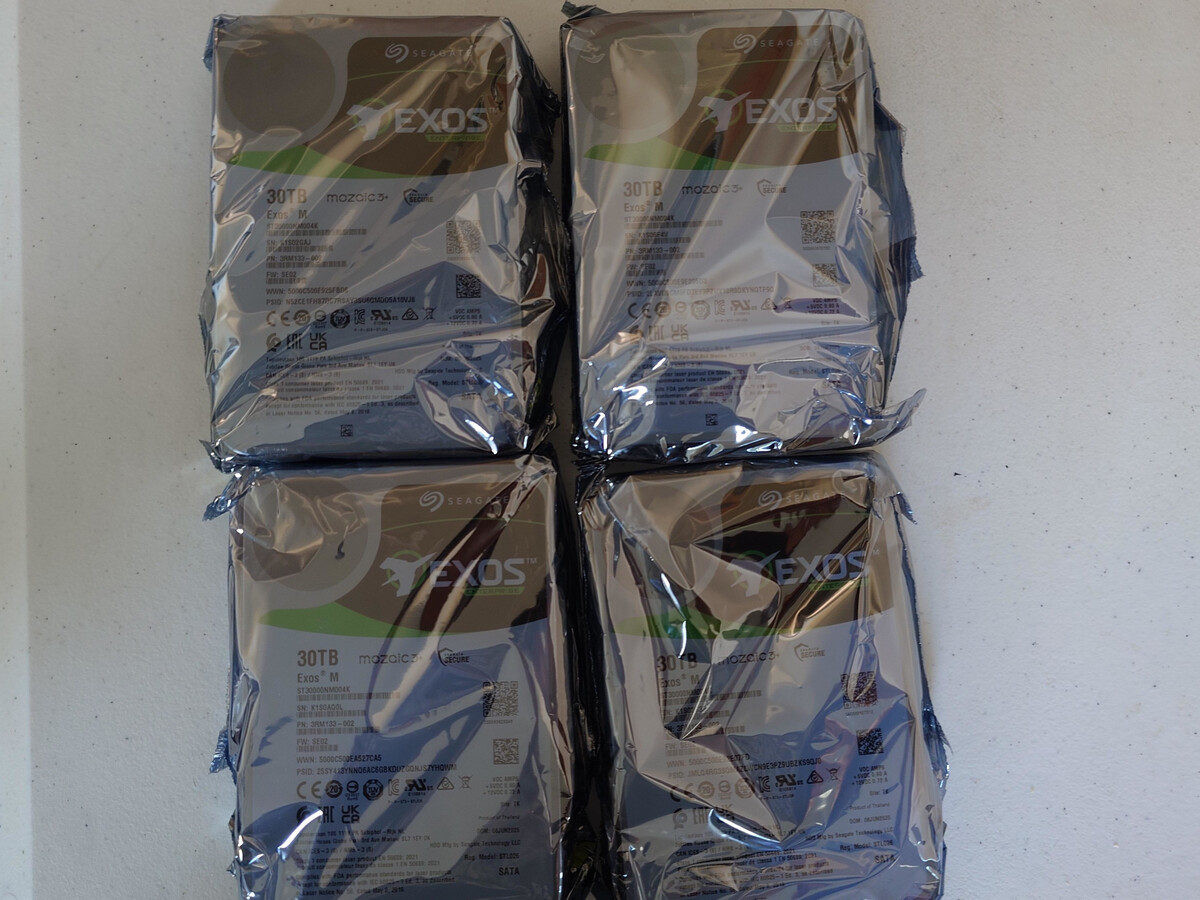
4x 30TB Seagate Drives
On December 3rd, 2025, I purchased four 30TB hard drives directly from Seagate for $2,451.54, including sales tax. By January, these drives were only available from 3rd parties at $900 each! Prices and supply for large capacity hard drives have fluctuated heavily. Had I waited, I could have purchased Seagate’s newer 32TB offerings. I’ve seen them for around $700 recently on several websites, but they do tend to go out of stock very quickly. Pricing and supply for these hard drives isn’t as bad as RAM, but it’s still volatile.
In February, Western Digital stated they had already allocated their entire hard drive manufacturing capacity for the year34, meaning we could see further supply constraints in the hard drive market.
The New RAIDZ Pool
I created this as an encrypted RAIDZ pool using the following settings.
zpool create -f -o ashift=12 \
                   -O compression=lz4 \
                   -O acltype=posixacl \
                   -O xattr=sa \
                   -O relatime=on \
                   -O encryption=aes-256-gcm \
                   -O keyformat=passphrase \
                   -O canmount=off \
                   -O mountpoint=none \
                   -f arcadia raidz1 /dev/sde1 /dev/sdf1 /dev/sdg1 /dev/sdh1
This created a RAIDZ volume with one drive of redundancy and a total usable capacity of 79.1 TB. In reality, it’s quite a bit shy of 80 TB due to RAIDZ overhead5, but the round number sounds cooler, so I’ve kept it as the title of this post. 😇
The Backup Server
The last of my spare compute units consisted of an AMD Ryzen 3 3200G on an Asus Prime A320I-K ITX motherboard with 16 GB of RAM. This particular motherboard does support PCI-E cards waking it from the sleep state, allowing me to equip it with a Wake-on-LAN (WoL) network card.
Since it will be in a low power state most of the time, it can live silently in my home office rackmount. I can remotely wake it up to perform backups and immediately suspend it again.
I wanted to connect this server to my 10 Gb fiber network. Unfortunately, it doesn’t appear that any cards with SPF+ cages support WoL, most likely due to lacking the power needed to keep the fiber transceiver active while the machine is suspended. I found this network card (NIC), which used a Marvell AQC113 chip, that offered 10Gb over copper with WoL for $114.
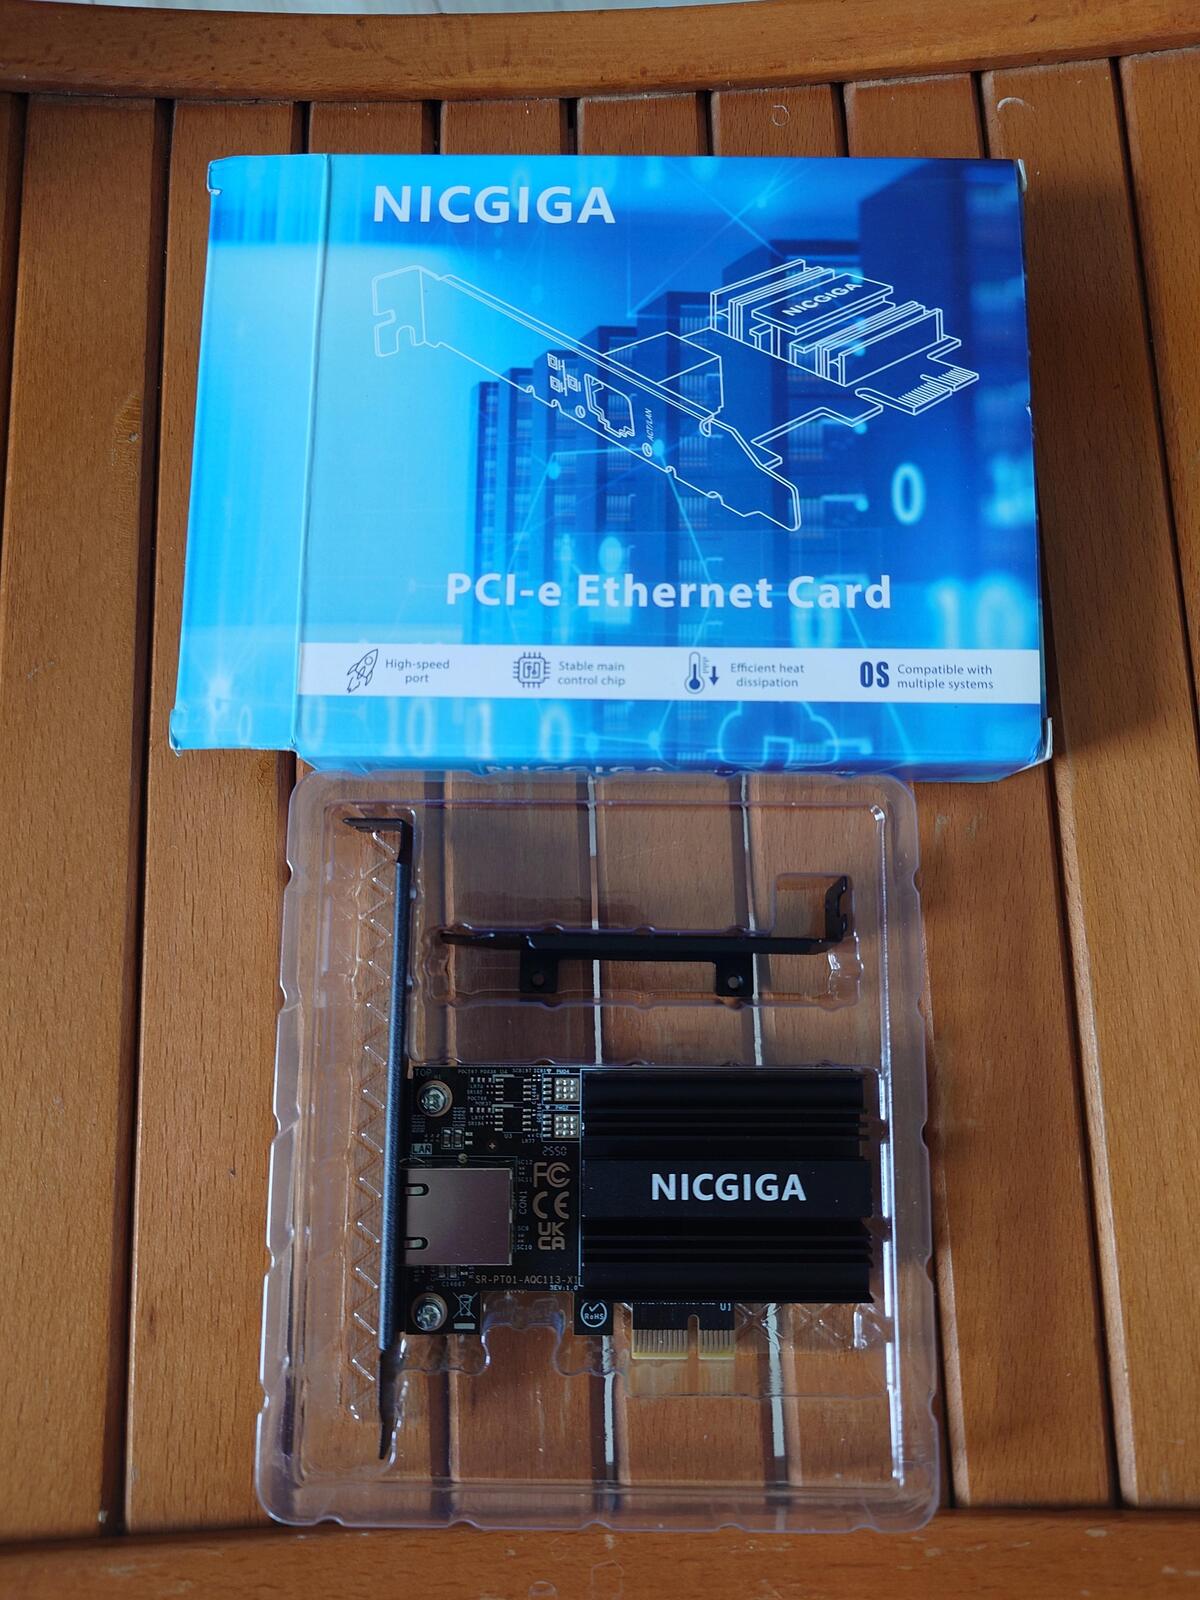
Unfortunately, this NIC operates using PCI 4.0 by x1. The slot on this motherboard is PCI 3.0. So even when placed in the motherboard’s only PCI-E slot, lspci shows the card’s link status as Speed 8GT/s (downgraded), Width x1 (downgraded). In this configuration, I seem to be limited to transfer speeds of ~6 Gb/s over the network.
iperf3 -c chloe
Connecting to host chloe, port 5201
[  5] local 2605:8600:x:x:x:x:x:x port 45560 connected to 2605:8600:x:x:x:x:x:x port 5201
[ ID] Interval           Transfer     Bitrate         Retr  Cwnd
[  5]   0.00-1.00   sec   731 MBytes  6.12 Gbits/sec   67   1.12 MBytes
[  5]   1.00-2.00   sec   729 MBytes  6.12 Gbits/sec    1   1.23 MBytes
[  5]   2.00-3.00   sec   728 MBytes  6.11 Gbits/sec    0   1.25 MBytes
[  5]   3.00-4.00   sec   729 MBytes  6.12 Gbits/sec    8   1.27 MBytes
[  5]   4.00-5.00   sec   729 MBytes  6.11 Gbits/sec    3   1.29 MBytes
[  5]   5.00-6.00   sec   728 MBytes  6.10 Gbits/sec    0   1.30 MBytes
[  5]   6.00-7.00   sec   727 MBytes  6.10 Gbits/sec    0   1.32 MBytes
[  5]   7.00-8.00   sec   729 MBytes  6.12 Gbits/sec    0   1.34 MBytes
[  5]   8.00-9.00   sec   729 MBytes  6.11 Gbits/sec   13   1.36 MBytes
[  5]   9.00-10.00  sec   729 MBytes  6.11 Gbits/sec    0   1.37 MBytes
The ITX motherboard doesn’t have enough SATA connectors for the 5x bay hard drive cage I purchased for this project. So I purchased an M.2 SATA controller, which had two SAS breakout cables that can connect up to eight devices. I had purchased a similar M.2 SATA controller in the past but never got it working in other boards. I assumed it was a compatibility issue, but after trying it on other motherboards, I think it was just defective.
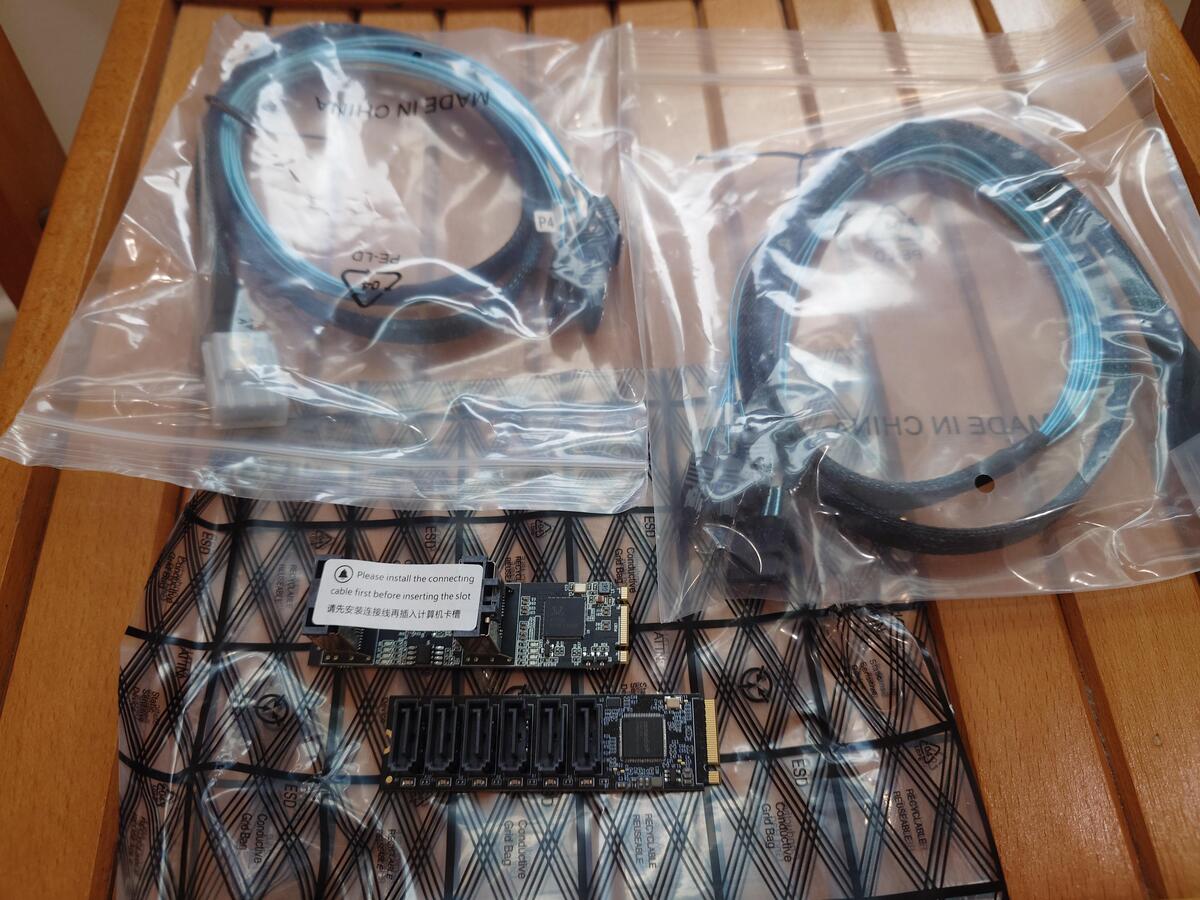
The new SATA controller I purchased had a warning label instructing the user to install the SAS breakouts before installing the card. I assume this is to prevent stress to the card while in the M.2 slot, which could damage the controller’s PCB.
The Backup Pool
I created a zpool on the backup server without RAIDZ. This is effectively Just a Bunch of Disks (JBOD) array in ZFS. It doesn’t provide any redundancy, but I do gain the full storage capacity of each drive, which seems like a reasonable tradeoff for a backup.
zpool create -f -o ashift=12 \
                   -O compression=lz4 \
                   -O acltype=posixacl \
                   -O xattr=sa \
                   -O relatime=on \
                   -O encryption=aes-256-gcm \
                   -O keyformat=passphrase \
                   -O canmount=off \
                   -O mountpoint=none \
                   -f carmella /dev/sdf /dev/sdg /dev/sdh
I sent my first ZFS snapshot to the new pool. It was a full snapshot sent via SSH. With both the limitation of the NIC and the overhead of SSH encryption, it took a total of five days to complete this transfer! Luckily, most of this was over the weekend, so I only had to deal with the loud server in my home office for part of that transfer.
# zfs send arcadia/aerith@2026-03-04 | pv | ssh stacey zfs recv byleth/aerith
50.8TiB 5:02:08:10 [ 121MiB/s] [           <=>                                               ]
I decided to create a similar pool with my more recent set of backup hard drives, turning them into a JBOD pool. This time, I placed the backup hard drives in the existing NAS to see if it made a difference in transfer speed. The entire snapshot transferred in one day and twenty-two hours, a fraction of the network transfer time.
root@chloe ~ [SIGPIPE|0|1]# zfs send arcadia/aerith@2026-03-10 | pv | zfs recv carmella/aerith
50.8TiB 1:22:51:28 [ 316MiB/s] [                                            <=>              ]
These initial snapshots are a one-time cost, as subsequent backups only require incremental data between two previous snapshots.
| Pool Name | Set | Type | Capacity | Current Available Space |
|---|---|---|---|---|
| arcadia | Master | RAIDZ | 79.1 TB | 28.4 TB |
| byleth | Backup | JBOD | 52.7 TB | 2.32 TB |
| carmella | Backup | JBOD | 54.5 TB | 3.78 TB |
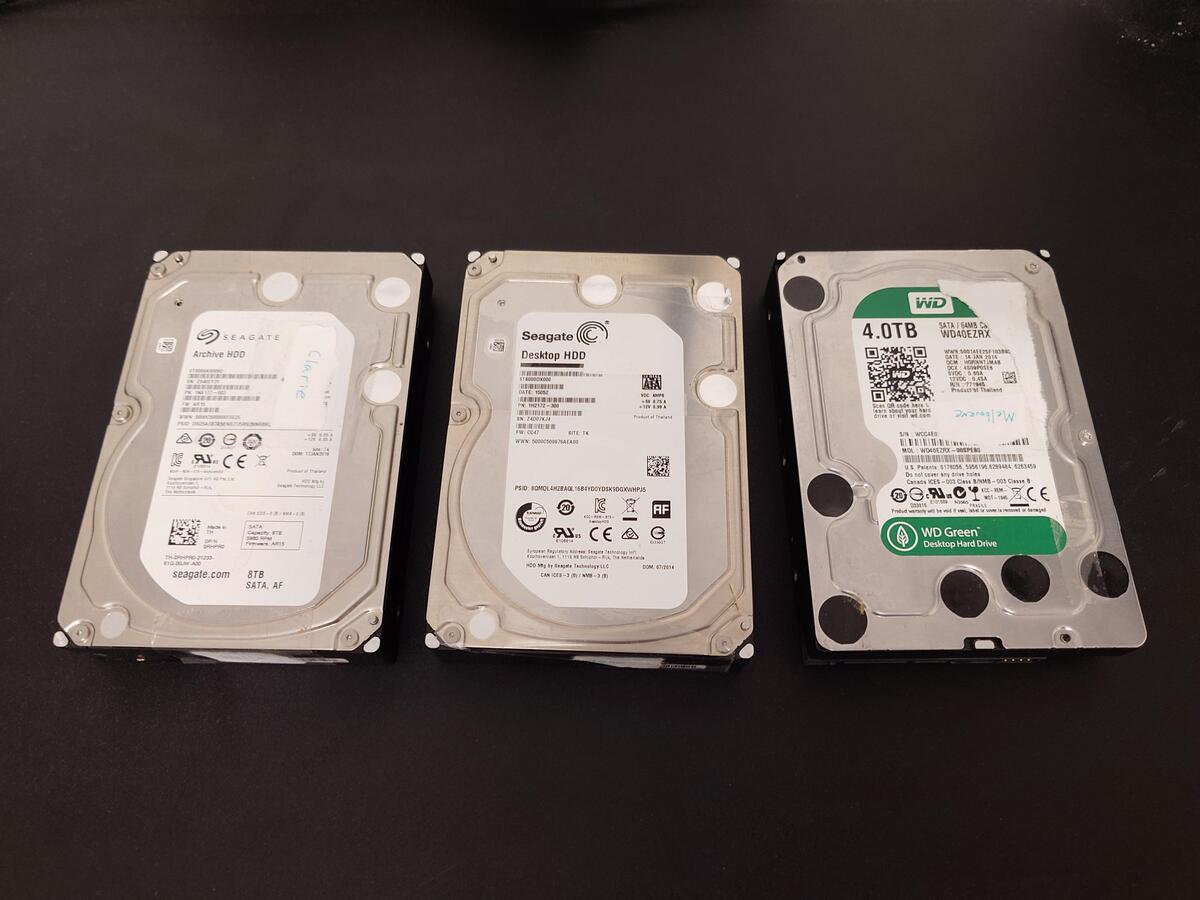
It may seem like my backup pools are far under the potential capacity of my primary storage. Fortunately, they’re JBODs and I have several smaller drives from when I lived minimally, ranging from 3TB to 8TB. My backup server supports five hot-swap drives, and both of these backup pools only use three. As my usage grows, I can add additional drives until my backup sets reach capacity.
Final Costs
| Part | Price | Tax | Shipping | Total |
|---|---|---|---|---|
| 10G Base-T PCI-e4.0 X1 Network Card | $113.99 | $11.09 | $5.99 | $131.06 |
| 3x5.25” to 5x3.5” SATA Trayless Hot-Swap Cage | $130.99 | $13.30 | $12.69 | $156.98 |
| 2U Rackmount Case | $105.00 | $9.71 | - | $114.71 |
| M.2 to SATA 8 Port Controller | $55.99 | $5.18 | - | $61.17 |
| Total for Backup Server | $463.92 | |||
| 4x 30TB Seagate Hard Drives | $2,639.96 (-$395.99 discount) | $207.57 | - | $2,451.54 |
| Total Including New Storage | $2915.46 |
The 10 Gb Ethernet card was double the cost of an equivalent SPF+ card with a fiber transceiver and ended up being somewhat of a waste compared to an equivalent 5 Gb card on this particular build. The hot-swap cage was also a little over twice as much as I’ve paid previously for similar drive bays. Other than those two items, most of the prices for this build are comparable to my previous server builds.
I’m thankful I purchased my storage drives last year. I’m also thankful this build utilized existing parts and didn’t require RAM or NVMe storage, which have skyrocketed in just the past three months.
Future Work
The next steps for this project involve automating ZFS snapshots and backup transfers. I’d like to build a job that will make regular snapshots, wake the backup server, perform snapshot transfers and server updates, and maintain the required incremental snapshots needed to update both backup pools. For now, I have more than enough primary storage capacity, along with two sets of full backups and a plan for long-term continual rotations. With the current state of the consumer PC hardware market, this might be my last build or upgrade project for a considerable amount of time.
-
nice gamer rack. 28 August 2022. @duponin@udongein.xyz. mirror ↩
-
3U Intelligent Green Saving LCD Display & Fan Control. Retrieved 18 March 2026. Archive ↩
-
Western Digital Has No More HDD Capacity Left, as CEO Reveals Massive AI Deals; Brace Yourself For Price Surges Ahead!. 14 Feburary 2026. Zuhair. Wccftech. ↩
-
Western Digital is Sold Out of Hard Drives for 2026. 17 Feburary 2026. msmash. Slashdot. ↩
-
ZFS / RAIDZ Capacity Calculator (beta). WintelGuy.com. Retrieved 20 March 2026 ↩